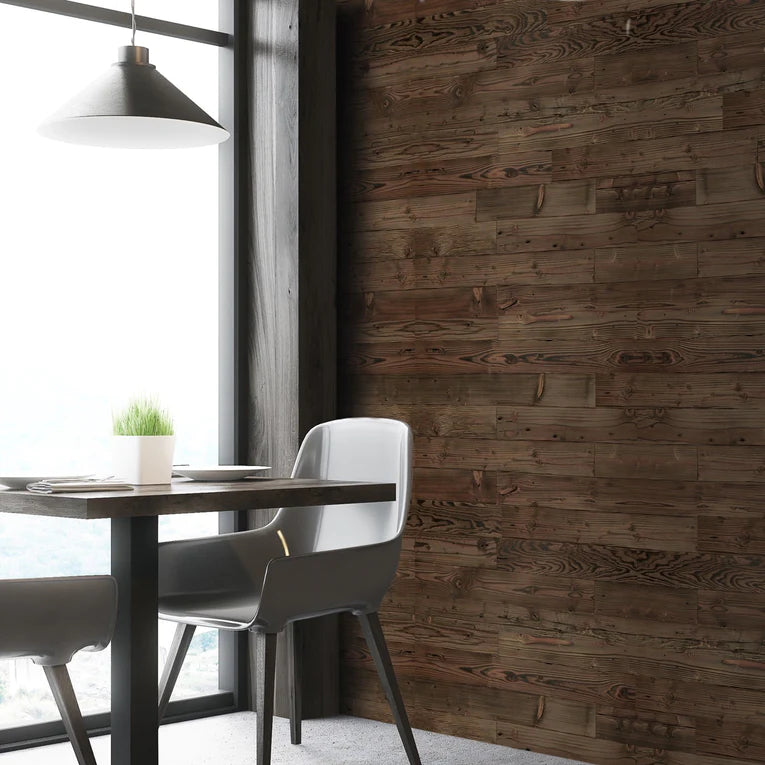
How To Rejuvenate Wood Veneer
If your wood veneer is looking a bit tired and needs a bit of TLC to bring it back to life, with a few simple steps you should be able to make it look as good as new. Here we tell you in more detail how to rejuvenate your wood veneer so you don’t have to worry about buying a replacement.
Step 1: Clean the veneer
Before starting any work on the veneer, it needs to be cleaned to remove any dust or dirt that has stuck to the surface. In most cases a lightly damp cloth or soft sponge should be enough to clean the wood and ensure the dirt is removed so it cannot become ingrained in the new finish. Once you’ve finished cleaning, use a dry cloth to wipe down the veneer.
Step 2: Remove attachments
If the veneer has any hardware attached – such as handles, legs, drawers etc., make sure these are removed. This will make it easier to sand the veneer and apply the finish.
Step 3: Strip the veneer
This is only applicable if the veneer has a coating finish. Use a paint brush to coat the veneer with a chemical stripper which will dissolve the old finish. Follow the product instructions and wait until it is recommended to move onto the next step.
Step 4: Scrap off the finish
If you had to follow the previous step, then you will have to remove the dissolved finish from the surface of the veneer. Do this using a putty knife, working carefully to avoid gouging and damaging the wood. For areas that are hard to reach you can use steel wool to finish. Finally, wipe down the veneer with a damp cloth to remove any residue that remains

Step 5: Sand down the veneer
You may need a few different sandpapering grades for this part. First use a 100-grit sandpaper to lightly remove the existing stain and finish from the veneer. You may need a rougher, 80-grit sandpaper if the 100-grit starts to clog up. Be careful not to wear through the finish and veneer, and if this starts to happen, go back to a 100 or 120-grit sandpaper. When it comes to rounded areas, you can sand by hand and use a sanding block for tight spots and corners. For larger surface areas like tops and sides use an orbital sander for the best results.
Step 6: Remove the dust
Sanding down the veneer will leave dust and debris on the surface that needs to be cleared away. To do this, use a vacuum with a soft brush so the veneer isn’t scratched or marked. To remove any fine particles, use a tack cloth as this will be kinder to the wood, and once finished you’ll have a much better idea of how much sanding still needs to be done.
Step 7: Removing imperfections
Depending on the severity of the imperfections, use a 120-grit or 220-grit sandpaper. If you sand across the veneer the finish will be a lot more even, rather than focussing on individual spots that could divot the veneer. Use a 320-grit sandpaper to create a
smooth finish that looks great on the surface of the veneer.
Step 8: Stain the veneer

Use your chosen stain and before applying it to the veneer, test it on a separate piece of wood – the inside of a drawer or something that isn’t visible. This is to make sure that the colour turns out in the way you want before you commit to using more of the product. If you are happy to proceed, follow the product instructions and be sure to wait the full suggested drying time.
Once you have stained the veneer you can add a clear protective finish to reduce any potential damage caused by scratches and other markings. Again, follow the product instructions so the finish is fully dried and attach any hardware that was previously in place before you started the process.
