Flutto® Black Mini-Ridge Flexible Tambour Wood Panels
Solid black melamine in a narrow half-round tambour profile that bends around curves.
You need 0 panels to cover 0 m² (incl. 10% waste)


Specifications
- Profile
- Mini-Ridge
- Colour
- Black
- Finish
- Solid melamine
- Panel Height
- 1200mm / 2400mm
- Panel Width
- 300mm (single) / 600mm (pack)
- Panel Thickness
- 12mm
- Coverage
- 0.72 / 1.44 m² per pack
- Weight
- 7 / 14kg per pack
- Material
- Solid melamine on MDF, fabric backing
- Flexible
- Yes (tambour)
- Acoustic
- No acoustic properties
- Fire rating
- Not rated
How to install
-
1
Prepare the Surface
Make sure your wall is clean, dry, and free of dust or loose paint. Sand glossy surfaces lightly so adhesive bonds properly.
-
2
Apply Adhesive
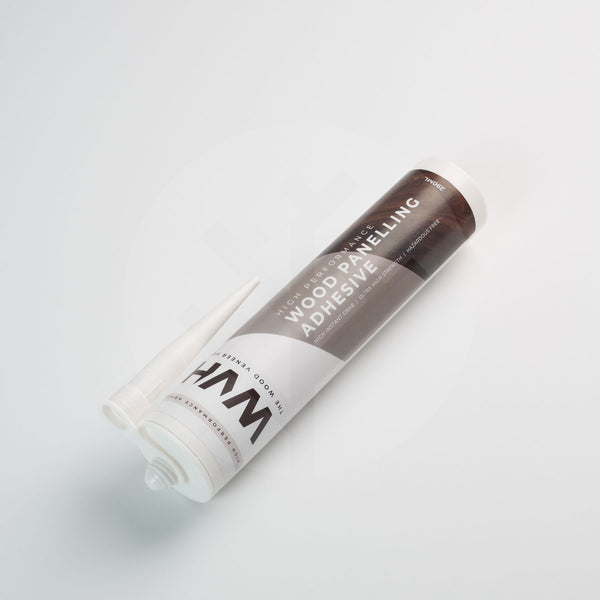
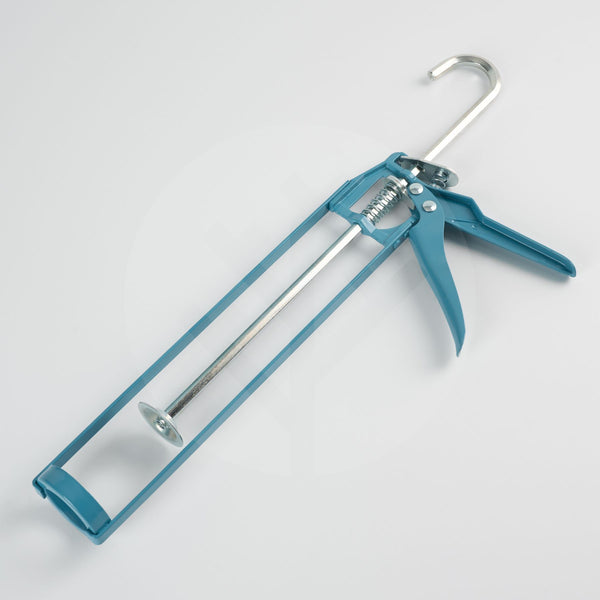
Spread a thin, even layer of panel adhesive across the back of the panel using a notched trowel or adhesive gun.
-
3
Position the Panel
Start from the bottom corner and work across. Press the panel firmly into place, checking alignment as you go.
-
4
Press and Hold
Apply firm, even pressure across the full panel for 60 seconds. Use a roller or flat block to make sure every part makes contact.
Description
Delivery and returns
Delivery options and timing vary by product. View the methods available at checkout.
30-day returns on all orders
Items must be unopened and in original packaging
Contact us to arrange a return
Notify me


What sets it apart


Curves, in colour.
Four finishes, three profiles, a room full of variations. Flutto® Colour takes the same flexible tambour construction you know from the Wood range and finishes every slat in solid melamine. Flat. Even. Uncompromising. The panel bends around columns, follows radius walls, softens corners, and carries a single chosen colour across the whole room.
Black for depth. White for lightness. Grey for quiet restraint. Blue for character. Pair any colour with Ridge for wide architectural rhythm, Slat for clean linear restraint, or Mini-Ridge for a subtler modern detail. Pick a colour, pick a profile. The wall bends to match.
How it works
Prepare the Surface
Make sure your wall is clean, dry, and free of dust or loose paint. Sand glossy surfaces lightly so adhesive bonds properly.
Apply Adhesive
Spread a thin, even layer of panel adhesive across the back of the panel using a notched trowel or adhesive gun.
Position the Panel
Start from the bottom corner and work across. Press the panel firmly into place, checking alignment as you go.
Press and Hold
Apply firm, even pressure across the full panel for 60 seconds. Use a roller or flat block to make sure every part makes contact.
Reviews
Frequently asked questions


Trade pricing for professionals
Dedicated pricing, priority samples and a named account manager. Apply in 30 seconds.
Request your trade account
Fill in the form or call our trade team on 01525 851166. Most accounts are approved within one working day.

Why WVH®
Founded on craft.
Built for modern design.
Decades of experience supplying surface materials to the high-end automotive and marine industry. The same obsession with grain, finish, and consistency now defines every WVH® panel.
50+ years of expertise
Three generations of surface materials knowledge behind every product
Trusted by 5,000+ homeowners
★★★★★ Excellent · 5,000+ reviews on Trustpilot
UK shipping, 30-day returns
Free delivery over £49. Hassle-free returns on every order.